How to Plan a Client Portal for Your Business
A practical step-by-step guide to planning a client portal that reduces back-and-forth, keeps documents organized, and supports real business operations.
Published Apr 14, 2026 · Updated Jun 18, 2026
You will end up with a clear client portal plan covering user roles, key features, document flow, status updates, and launch priorities, so you can build the right system instead of guessing.
Why planning matters first
A client portal can save time, reduce repeated follow-ups, and give your customers a more organized experience. But many businesses make the same mistake: they start with design ideas before defining what the portal actually needs to handle.
A good client portal is not just a login page with a few uploaded files. It should match the way your business already works. That means thinking through your documents, approvals, status updates, client communication, and internal process before anything gets built.
This guide will help you plan a client portal in a practical way, even if you are not technical. By the end, you should have a usable planning outline you can hand to a developer or review internally with your team.
What this guide helps you avoid
Without a proper plan, businesses often end up with a portal that looks fine but creates new problems:
- clients do not know what to upload
- staff still have to answer the same questions manually
- documents are stored without structure
- status updates are unclear
- important steps are handled outside the portal anyway
A better approach is to define the workflow first, then decide what the portal needs to show and do.
What You Need
Required
- A clear list of services or projects your business handles
- A sample of the documents clients usually send or receive
- A basic understanding of your current customer workflow
- Notes on common client questions or delays
Optional
- Existing forms, spreadsheets, or tracking documents
- Screenshots of any current internal process
- A rough idea of branding or design preferences
Recommended
- One team member who handles operations or customer follow-up
- One real example of a recent customer job or project
- A list of what you currently send by email, text, or WhatsApp
Steps
Define what the portal should help clients do
Before listing features, write down the actual actions clients should be able to complete inside the portal.
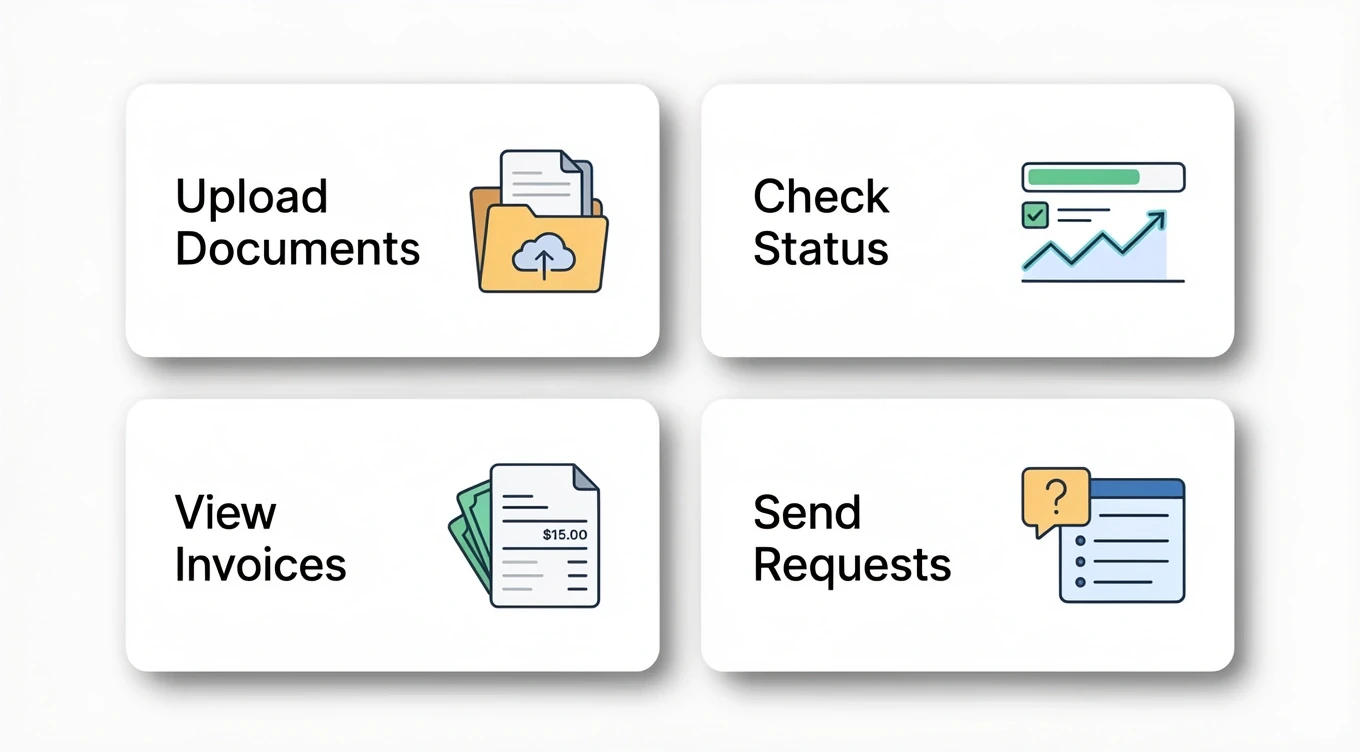
For most businesses, this usually includes things like:
- uploading documents
- viewing project or service status
- reviewing invoices or payment records
- receiving reminders or updates
- submitting questions or follow-up requests
- approving items or confirming details
Keep this list focused. A useful portal does not need to do everything on day one. It only needs to handle the most valuable client-facing tasks clearly.
Start with one sentence:
“Our portal should help clients do these 3 to 5 things without needing to email us every time.”
Expected result
You now have a short list of the most important client actions your portal must support.
Map the information flow
Now list what information moves between your business and the client.
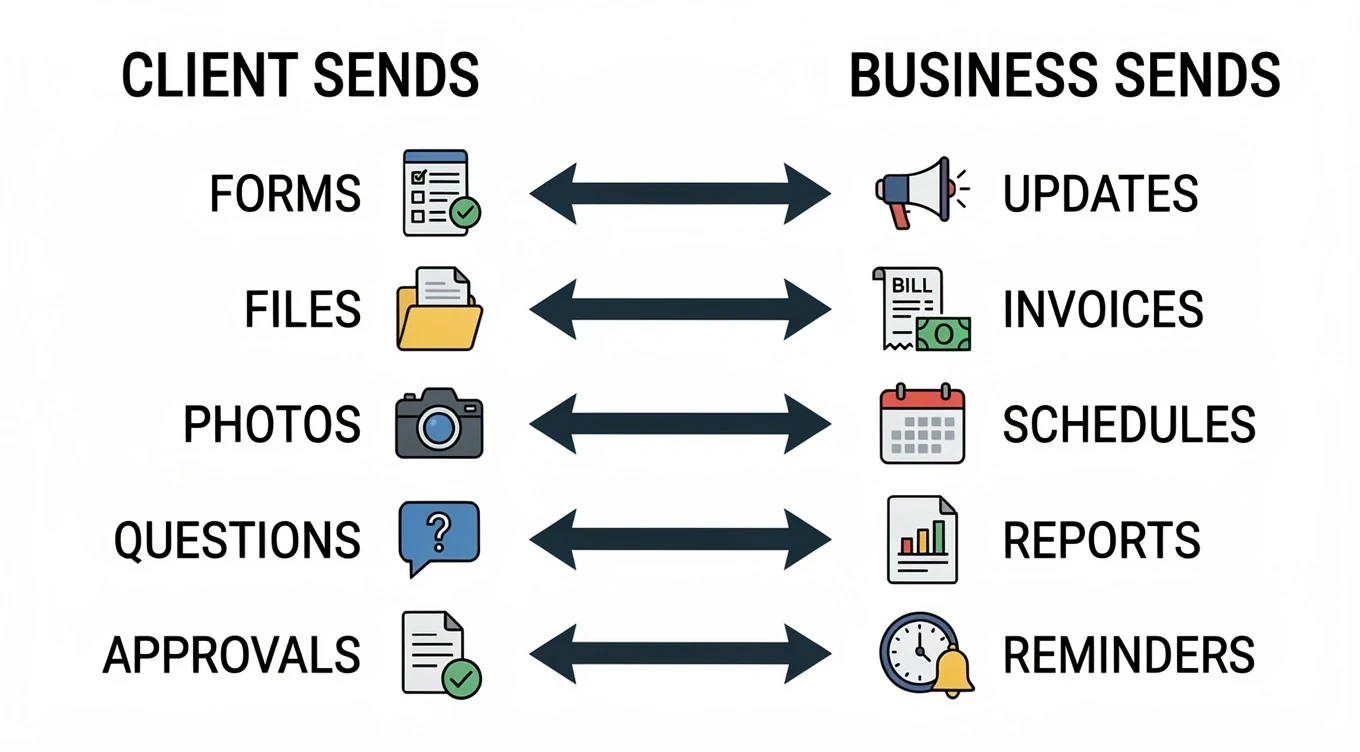
Think in both directions:
From client to business
- intake details
- uploaded files
- signed forms
- photos
- questions
- approvals
From business to client
- status updates
- quotes
- invoices
- appointment details
- reports
- completed documents
- reminders
This step is important because many portal problems come from unclear information flow. If you do not define what comes in and what goes out, the system becomes confusing very quickly.
A simple table works well here:
| Item | Direction | When it happens | Who needs it |
|---|---|---|---|
| Signed agreement | Client → Business | At project start | Admin |
| Project status update | Business → Client | During work | Client |
| Final invoice | Business → Client | At completion | Client / Accounting |
Expected result
You now understand what the portal needs to collect, store, and display.
Decide who will use the portal and what each person can see
A portal becomes much easier to plan when you define user roles early.
Typical roles include:
- client
- admin
- staff member
- manager
- accountant
- support team
Not everyone should see the same information. For example:
- clients may only see their own files and updates
- office staff may manage uploads and reminders
- managers may view progress across all jobs
- accounting may only need invoice and payment areas
Write this down in a simple role-access list. Do not make it complicated. Even a small chart is enough at this stage.
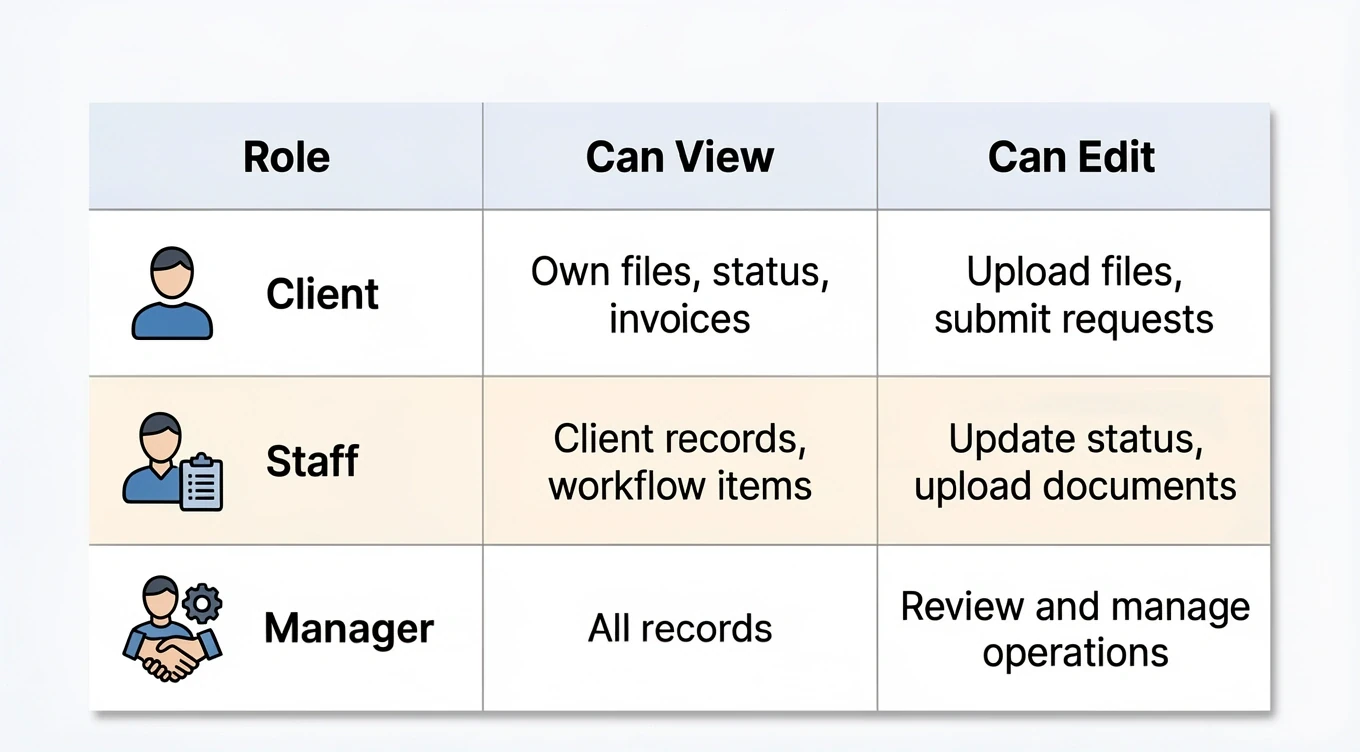
| Role | Can View | Can Edit |
|---|---|---|
| Client | Own files, status, invoices | Upload files, submit requests |
| Staff | Client records, workflow items | Update status, upload documents |
| Manager | All records | Review and manage operations |
Expected result
You now have a basic permission plan, which helps prevent confusion later.
Identify the most important portal sections
Now turn your workflow into portal sections.
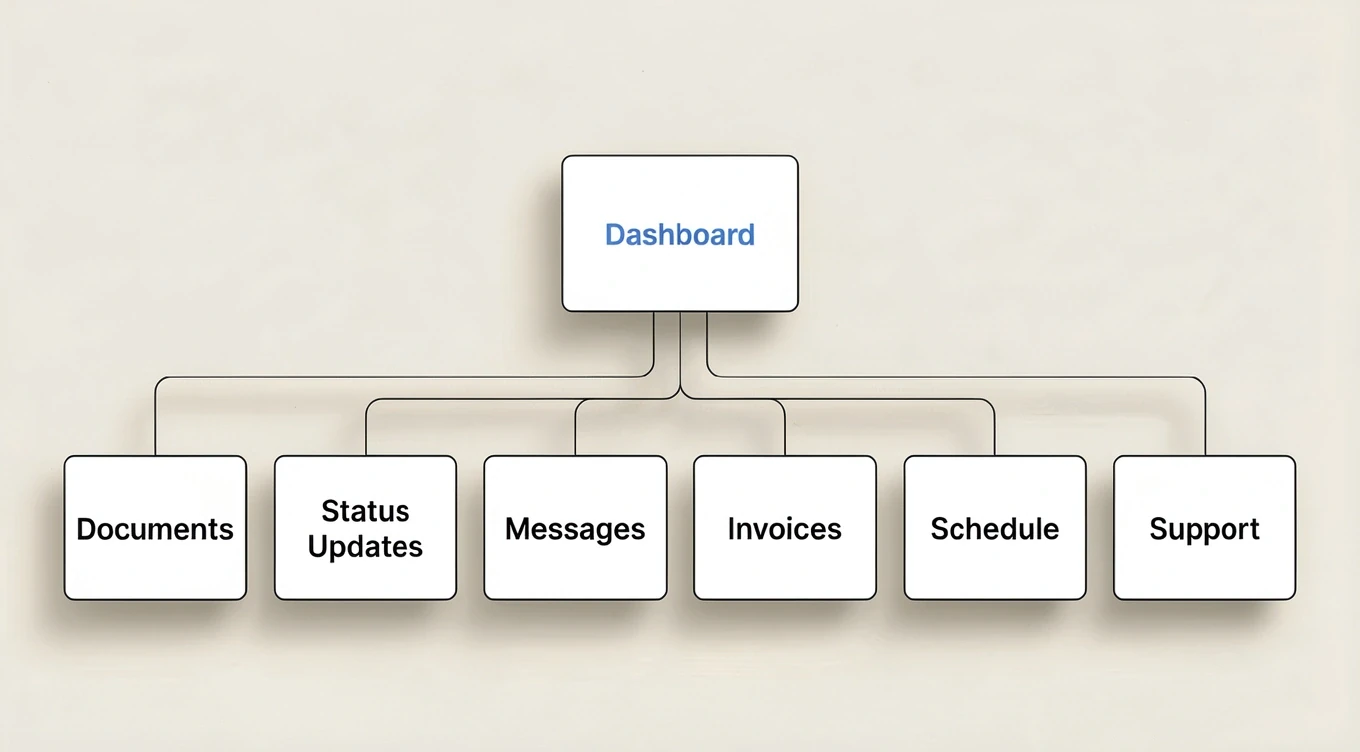
Most client portals do not need dozens of features. They usually need a small number of clearly defined areas, such as:
- Dashboard
- Documents
- Status Updates
- Messages or Requests
- Invoices and Payments
- Appointments or Schedule
- Approvals / Sign-off
- Support / Help
The exact sections depend on your business. For example:
- an HVAC company may need warranty claims, equipment records, and rebate documents
- an accounting firm may need document collection, tax checklists, and status updates
- a contractor may need project milestones, photos, approvals, and invoices
Choose the sections that match real work, not what “looks complete.”
Expected result
You now have a first-draft site map for your client portal.
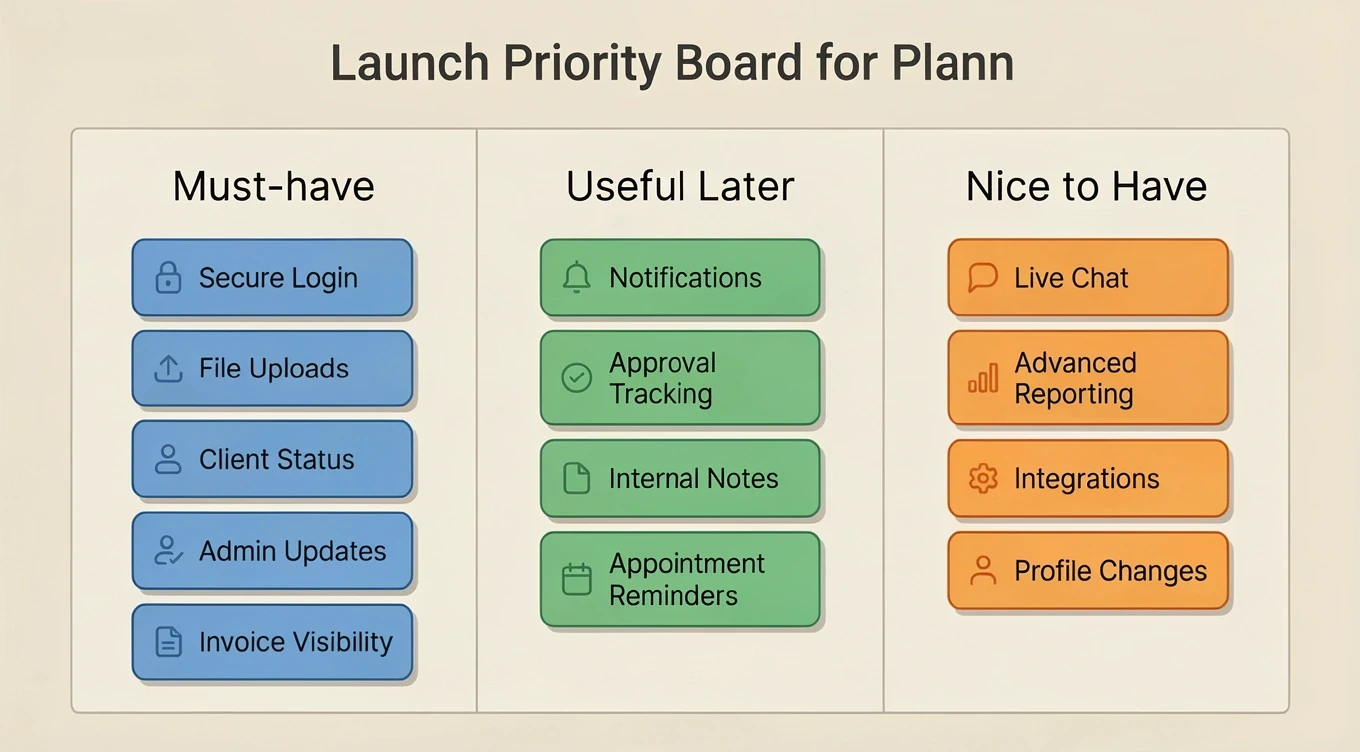
Set launch priorities for version one
This is where many businesses save time and money.
Do not try to launch every possible feature at once. Separate the portal into:
- Must-have for launch
- Useful after launch
- Nice to have later
Example:
Must-have
- secure login
- document upload
- client status view
- admin updates
- invoice visibility
Useful after launch
- notifications
- approval tracking
- internal notes
- appointment reminders
Nice to have later
- live chat
- advanced reporting
- integrations with other systems
- self-service profile changes
Version one should solve the biggest communication and organization problems first.
Expected result
You now have a realistic phase-one scope that can actually be built and launched.
A useful client portal starts with workflow clarity, not feature excitement. Once you know what clients need to do, what information moves between both sides, who needs access, and what version one should include, the portal becomes much easier to plan properly.
Even a one-page planning outline can prevent weeks of rework later.
Related
Tutorial · Intermediate · 30 min
Set Up a Simple Client Portal on a Budget VPS
A practical way for small firms to launch a lightweight client portal on their own VPS without paying for a heavy SaaS stack.
Read more →Tutorial · 8 min
How to Plan an Accounting Client Portal Without Overbuilding It
A practical guide for accounting firms to plan a client portal that solves real workflow problems without turning into an oversized software project.
Read more →Article · 5 min read
Where Does Your Client Data Actually Live?
For most hosted business tools, the honest answer is a U.S. server, and for a firm holding sensitive client records, that is worth a closer look.
Read more →Need help implementing this?
We build custom solutions for small businesses. Let us help with your next project.